The Pink Monstrosity - The Floor Tile
I was useless with the wall tile surrounding the tub and shower, so when we were finally ready for the floor tile, I told Jeff that I could handle it, although I really don't think he was going to let me get out of doing the tile. Honestly, I felt I had to redeem myself in the home improvement arena. Finally one night this summer my husband decided that, with the walls all painted, it was time to tear up the floor to the floorboards to see what we could find underneath. The 60 years of flooring layers were interesting, disgusting, and we were glad to throw the flooring in trash bags and into our trash bin. The next step was figuring out how to fix the floor around the once leaking toilet and then laying down the cement backer for the tile. This included making circle cuts for the toilet and cuts for around the bathtub. My husband told me to measure around the toilet. I did. My husband made a beautiful circle cut with his rotozip circle cutter. We took the board upstairs. Still didn't fit. Apparently I needed to measure the outside of the toilet base, not the inside...oops. So the perfectly cut circle was quickly destroyed to make a bigger hole for the toilet and it finally fit.
The bathroom sat this way for a couple days. We needed to wait for a day when we would have a long enough period of time where my husband could watch the kids and I could permanently stick the tiles to the floor. Before permanent installation, I carefully laid out all the tiles and had my husband make the necessary cuts for the walls, toilet hole (right measurements this time), and the bathtub. The next day he mixed up the remainder of the thinset from the wall tile project and I got to work. Overall, the installation went pretty smoothly. Unfortunately, I ran out of thinset with eight tiles left to go and my husband was sent back to any open home improvement store to get some more. I waited, and finally got the rest of the tiles down, having to make a couple little cuts on two of the last tiles because I got a little off (I was working backwards from the way I initially laid them afterall). Of course, we weren't finished. We still had to wait for it all to dry, and then grout all the tiles for a final seal.
There are many things I didn't realize about bathroom renovations before we started, but I discovered that finding a grout color (besides the simple white that we used on the walls) is yet another difficult decision. Of course if I had been paying attention to the descriptions under the tile when we purchased it, I might have picked the right color right away. In a quick trip to Lowes to get other items needed for the bathroom, we decided to get grout. We had the kids, they were getting grouchy, and I felt rushed to make a decision. On a return trip a couple days later (you would think that after years of home improvement projects we would realize that making a list would lessen the number of trips) I looked at the tile again, only to discover that the manufacturer had a color recommendation and I grabbed that one instead. Yes, it would mean returning the first selection, but at least it would be the "right" color. Then we finally had an evening when I could grout the tile. My husband mixed the grout power and booster together (apparently that lasts longer and then you don't have to seal it) and I got to work with the grouting. As with the walls, it was a longer and harder process than I anticipated, but I was relieved when I was finished. It looks good, and this time I knew to use a dry cloth to "buff" the tile. The final touch was replacing the trim along the walls and the bathroom was ready for fixture install. It was a good feeling. It always is when you complete a project, but to know that our bathroom was almost functional after two years of no use was fantastic.
Top layer

Next layer down

The mess of all layers

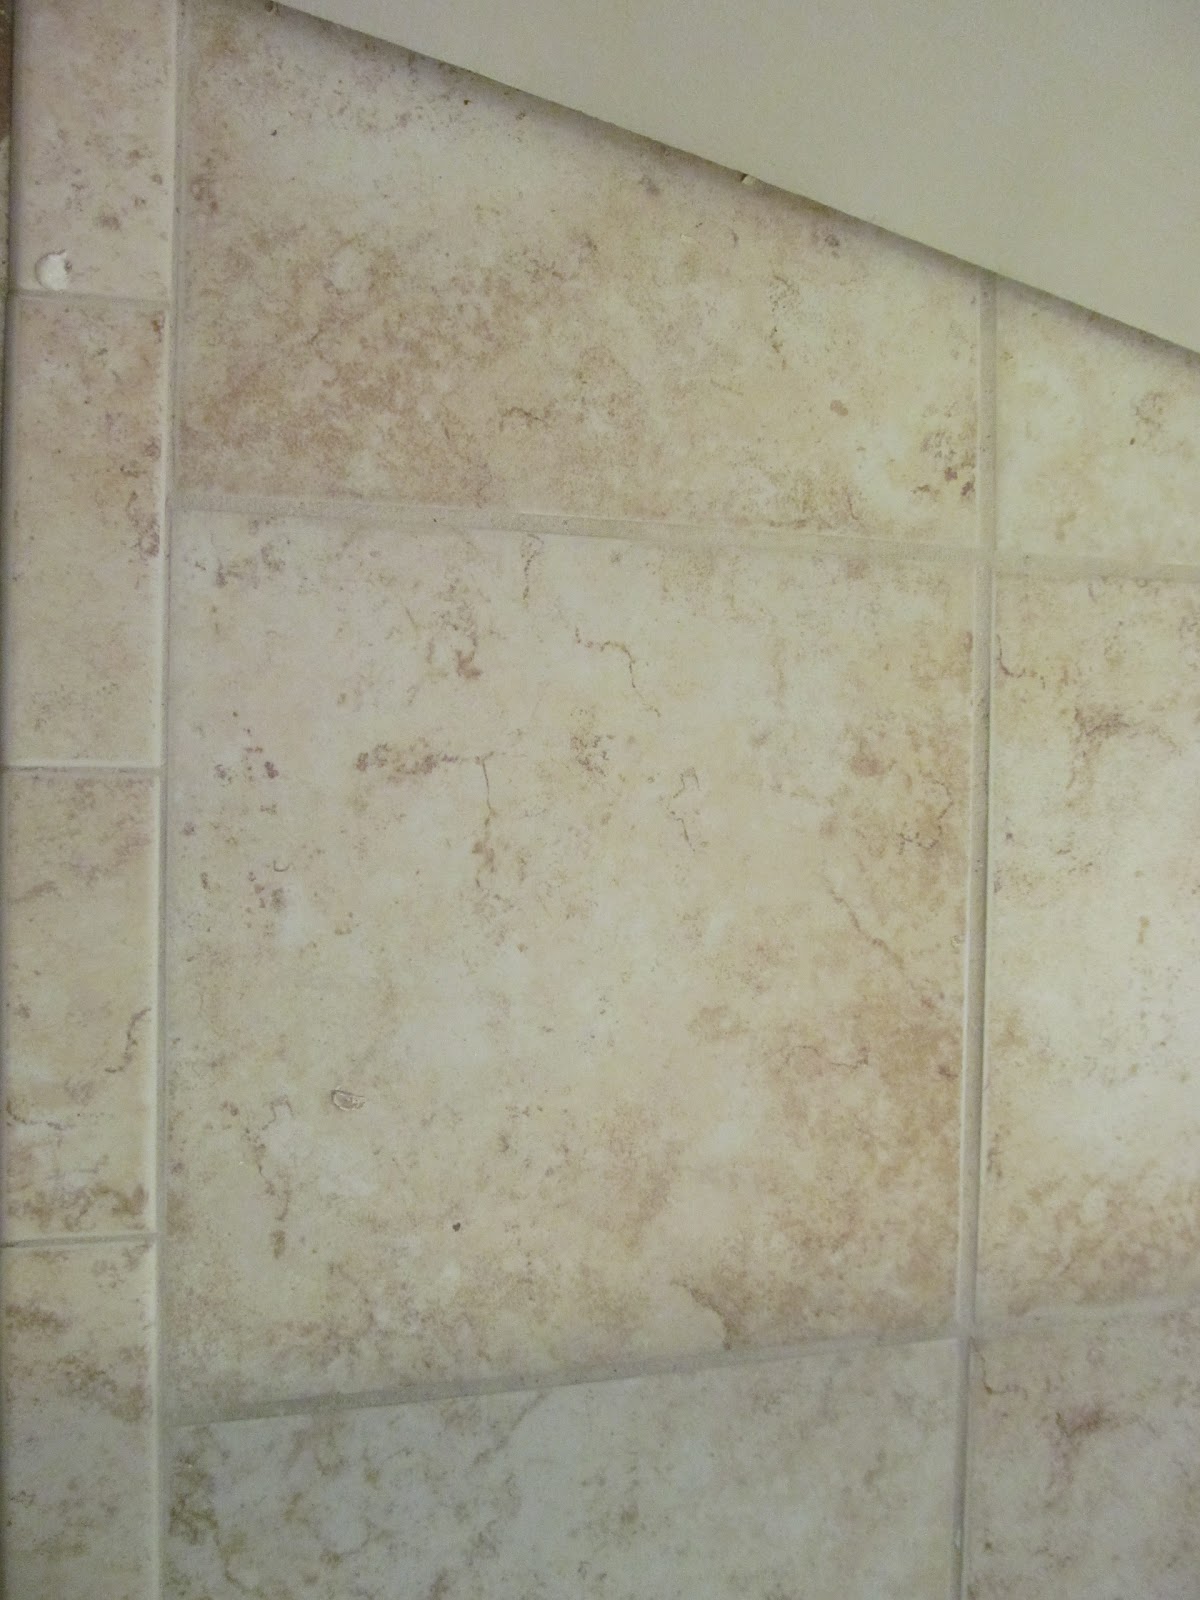
New tile with grout

The edge of the doorway


Comments
Post a Comment